

Setting up DHCP (Dynamic Host Configuration Protocol) on Windows Server 2019


Setting up DHCP (Dynamic Host Configuration Protocol) on Windows Server 2019 involves configuring the server to automatically assign IP addresses and network configuration settings to devices within your network.
Here's a step-by-step guide to setting up DHCP:
1. Install DHCP Server Role:
Open "Server Manager" on your Windows Server 2019.
Click on "Manage" in the top-right corner and select "Add Roles and Features."

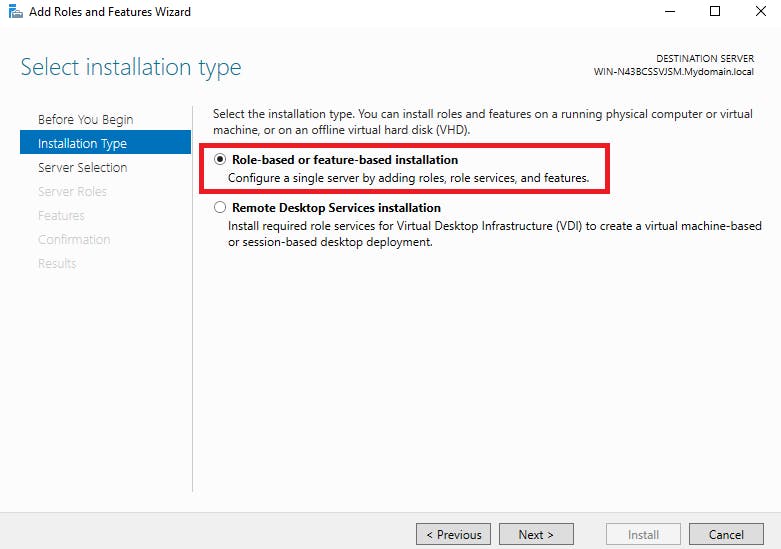
In the "Add Roles and Features Wizard," choose "Role-based or feature-based installation" and click "Next."
Select the appropriate server (usually your local server) and click "Next."
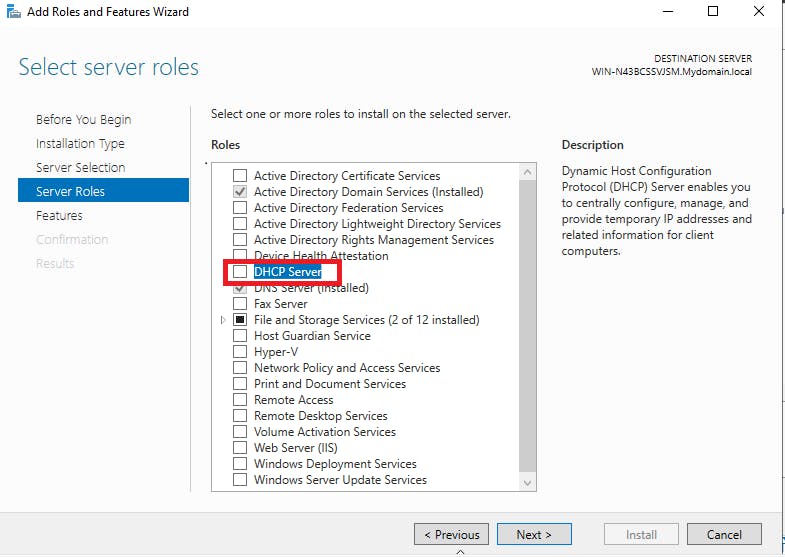
Scroll down and check "DHCP Server" under the "Roles" section.
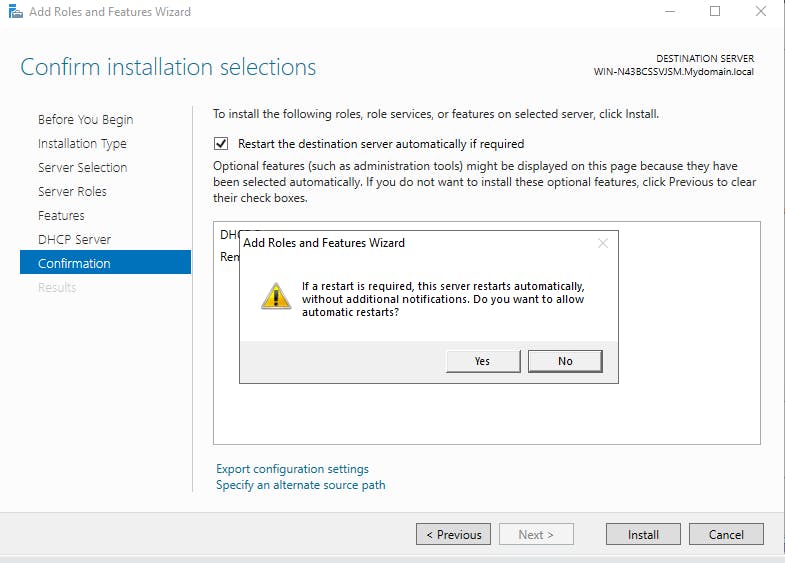
Follow the prompts to complete the installation, including any additional features that the wizard suggests.

2. Configure DHCP:
After installing the DHCP Server role, go back to Server Manager.
In Server Manager, you'll see a yellow flag indicating that DHCP needs to be configured. Click on the flag or open the DHCP Server app directly from the Tools menu.

3. Authorize the DHCP Server:
In the DHCP Server app, right-click on the DHCP server node in the left-hand pane and select "Authorize."
Authorization is necessary to prevent unauthorized DHCP servers from assigning IP addresses on your network.
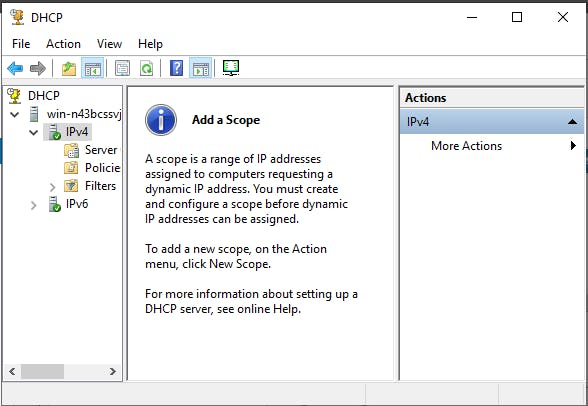
4. Create a DHCP Scope:
In the DHCP Server app, right-click on the "IPv4" node in the left-hand pane and select "New Scope."
The New Scope Wizard will open.
Follow the wizard to set up the scope:
Provide a name and description for the scope.
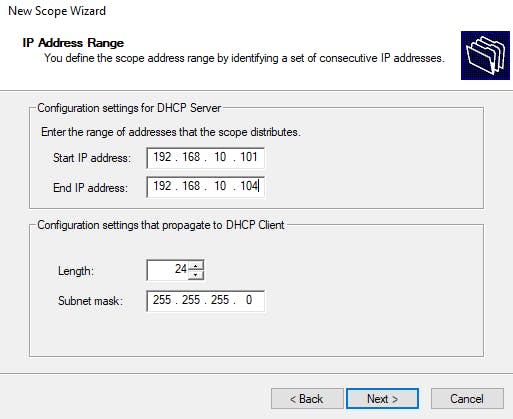
Specify the range of IP addresses to be used in the scope.
Set the subnet mask and default gateway.
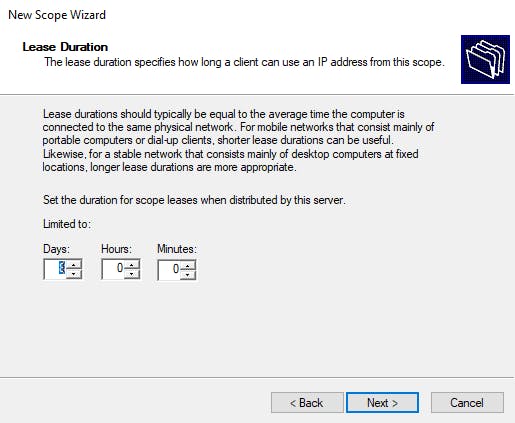
Define the lease duration (how long IP addresses will be assigned to clients).
Specify any additional options, such as DNS server addresses.

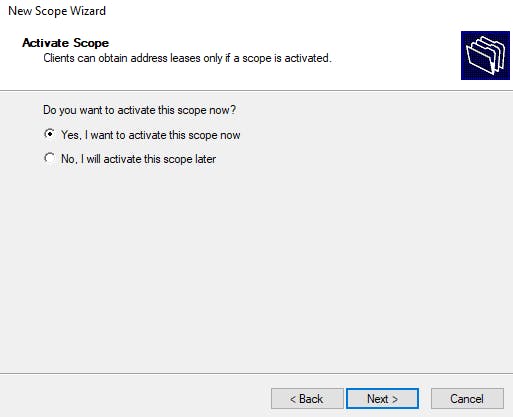
5. Activate the Scope:
After creating the scope, right-click on the scope name in the left-hand pane and select "Activate."
This makes the scope available for assigning IP addresses to clients.
6. Optional: Configure DHCP Reservations:
- Reservations allow you to assign specific IP addresses to particular devices based on their MAC addresses. This is useful for devices that require consistent IP addresses, such as printers or servers.
7. Optional: Configure DHCP Options:
- DHCP options allow you to provide additional configuration settings to clients, such as DNS server addresses, domain names, and more.
8. Test DHCP:
Ensure that your client devices are set to obtain IP addresses automatically (usually the default setting).
Connect a client device to the network, and it should automatically receive an IP address from the DHCP server.
Remember that proper planning and consideration of your network's IP addressing needs are essential before setting up DHCP. Additionally, ensure that DHCP is properly configured on routers and firewalls to allow DHCP traffic to flow between clients and the DHCP server.